
Search for the Needle Basement Walkthrough
To escape the Basement in Search for the Needle, find the key in the haystack, pull all three colored levers and solve the crystal, paper-code and picture puzzles. Then equip the key and climb the exit ladder. The puzzles free the alien and clear the way out, so finding the key is only one part of finishing Chapter 2.
Find the key in the haystack
Start clearing the Basement haystack until you uncover the key, then collect it and keep it for the exit. Dynamite is a useful purchase for this search because its blasts remove large sections of hay at once. Save your cash for it as you work through the pile. The Vacuum is another useful clearing tool when you want to keep removing hay.
Finding the key early lets you finish the hay search before freeing the alien. That is a convenient order, but you can still return to the haystack if you have already completed the puzzles. For help identifying the item and using it at the exit, see the Basement Key guide.
Follow the wires to all three levers
Three colored wires run from the puzzle-room doorway to the levers you need. Follow each wire to its end, then pull the lever there.
| Wire | Where to look | What to do |
|---|---|---|
| Green | Behind the haystack, among the wooden boxes. | Go around the pile to the boxes and pull the lever connected to the green wire. |
| Red | Near the Sell Hay cart, behind the Sell board. | Walk around the back of the board to reach the lever. |
| Purple | Beside the alien's jail, next to the Drone equipment. | Follow the purple wire to the lever beside the equipment. |
After pulling all three, return to the doorway with the three overhead lamps and the DO NOT ENTER sign. The puzzle-room door opens once the lever objective is complete. If it is still shut, follow each wire again and check that you pulled every lever.
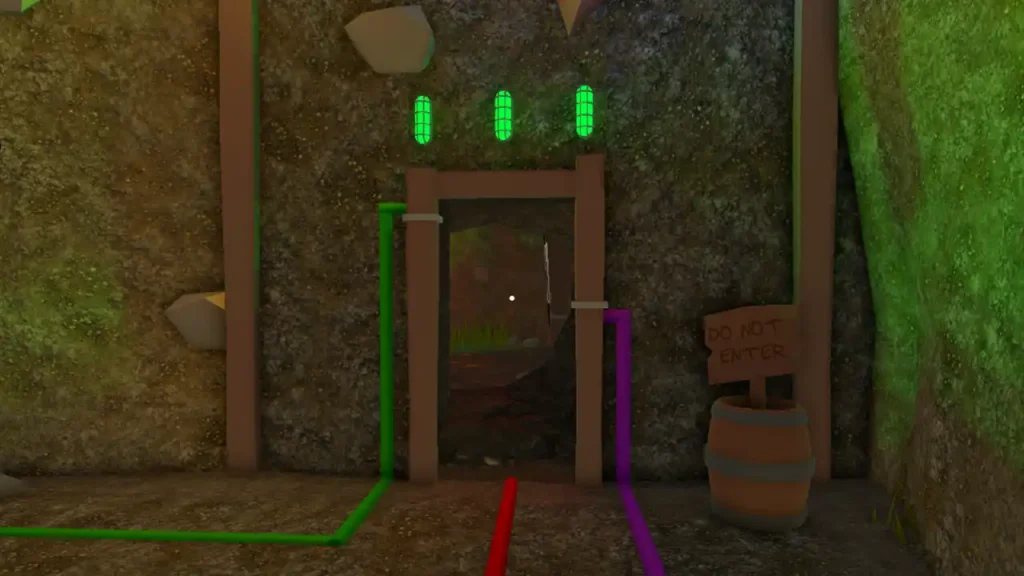
Image unavailable. Open puzzle-room doorway with green, red and purple wires and three lamps.
The open puzzle-room doorway connects to the green, red and purple wires.
Solve the three puzzles
Inside the room, you need to complete the crystal counts, the keypad code and the alien picture. Each has its own clue, so use what is in your room as you work through them.
Count the colored crystals
On the left side of the puzzle room, find the three pedestals marked with red, purple and green crystals. The numbers underneath them must match the number of crystals of each color in the room's walls.
Count one color at a time, walking around the room and checking the corners. Then click the number below that color's pedestal until it shows your count. Repeat for the other two colors. For example, if you count three purple crystals in your room, the purple pedestal should display 3.
The crystal counts change between runs. Use the crystals you can see in your room, and treat the image below as a guide to the pedestals rather than a set of answers. If the puzzle has not completed, recount each color and compare it with the matching pedestal number.
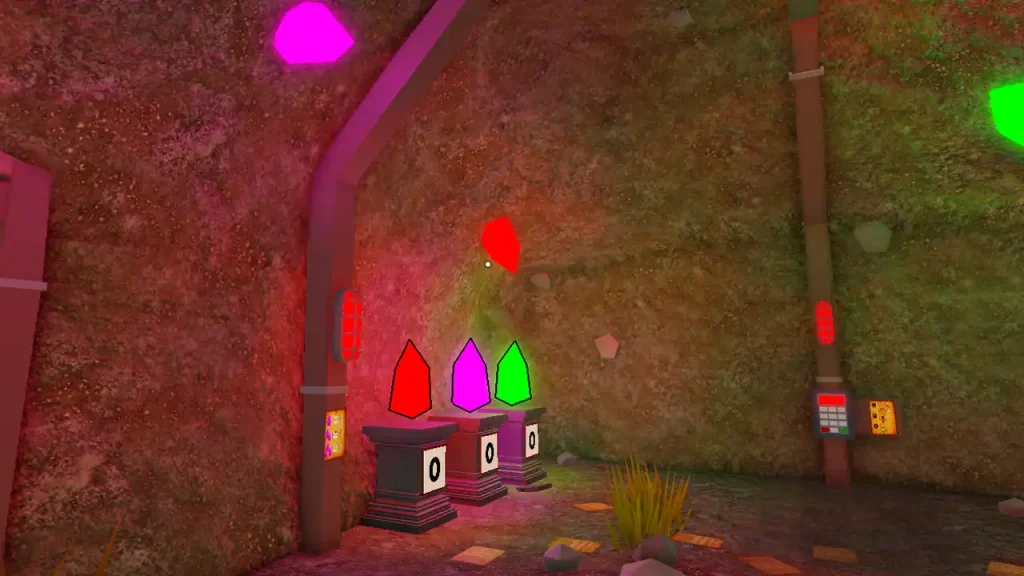
Image unavailable. Red, purple and green crystal pedestals with number controls below them.
Match each pedestal number to the crystals of that color in the room.
Find the code under the papers
Click the sheets scattered across the puzzle-room floor to flip them over. One sheet has the code written on it, so keep checking papers until you reveal it. Enter that number on the keypad lock to complete this puzzle.
The code also changes between runs. If a number you found elsewhere fails, go back to the floor papers and use the code from your current room.
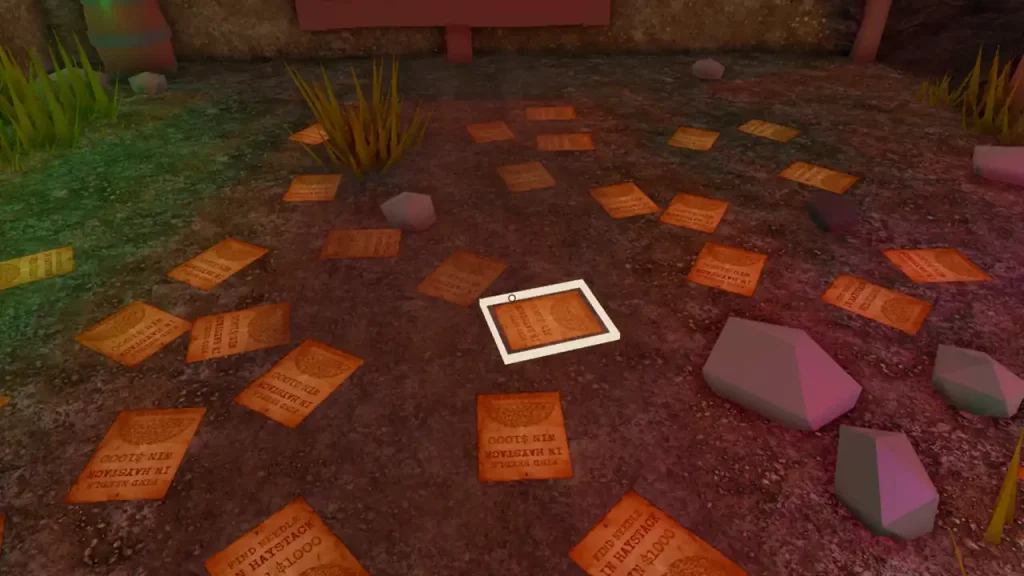
Image unavailable. Papers scattered over the puzzle-room floor, with one sheet highlighted.
Flip the papers on the puzzle-room floor to find the code.
Rebuild the alien picture
The picture board has 16 tiles in a 4×4 grid. Rotate each tile in place until its design matches the small reference picture beside the board. Some tiles may already face the right way, so compare them with the reference before turning them.
Start with the four corners and outer edges. Turn the curved sections until they connect into the ring around the outside. With that border in place, align the alien face in the middle and the branching design below it. The completed picture gives you clear lines to follow across neighboring tiles.
If the image still looks broken, work around the border to find a curve facing the wrong way, then compare the center with the small reference. Keep the tiles in their grid cells and adjust their orientation to complete the design.
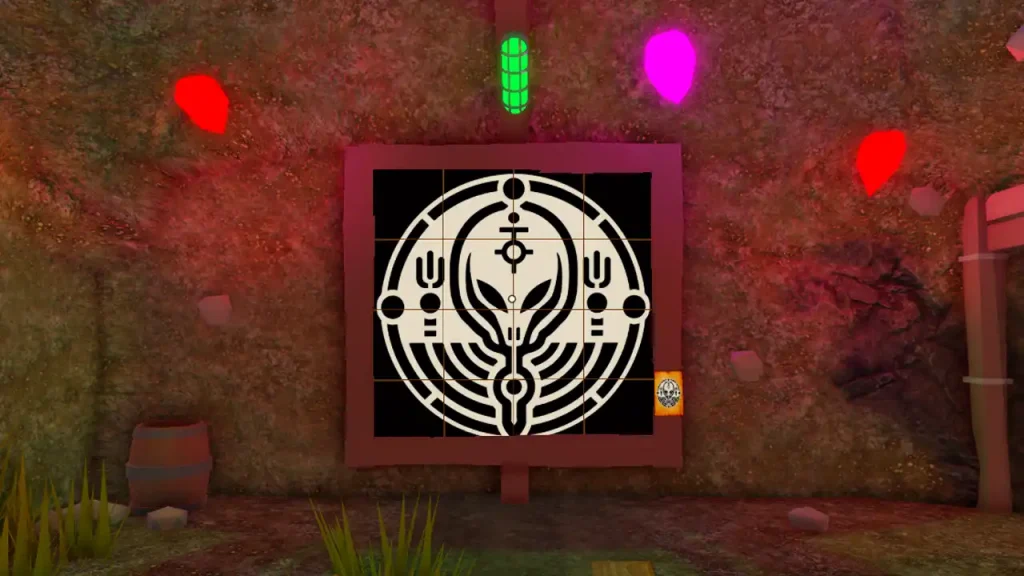
Image unavailable. Completed 4 by 4 alien picture with its reference plaque alongside the board.
The completed alien picture shows how the outer ring and central design line up.
Equip the key and leave through the ladder exit
Completing all three puzzles opens the alien's cell and removes the laser obstruction. Select the Basement Key from your hotbar, go to the ladder beneath the exit trapdoor and climb with the key equipped. This starts the escape scene.
If lasers still block the ladder, check the puzzle objective and finish the remaining puzzle. If the puzzles are complete but you still need the key, return to the haystack, collect it and equip it before trying the exit again.
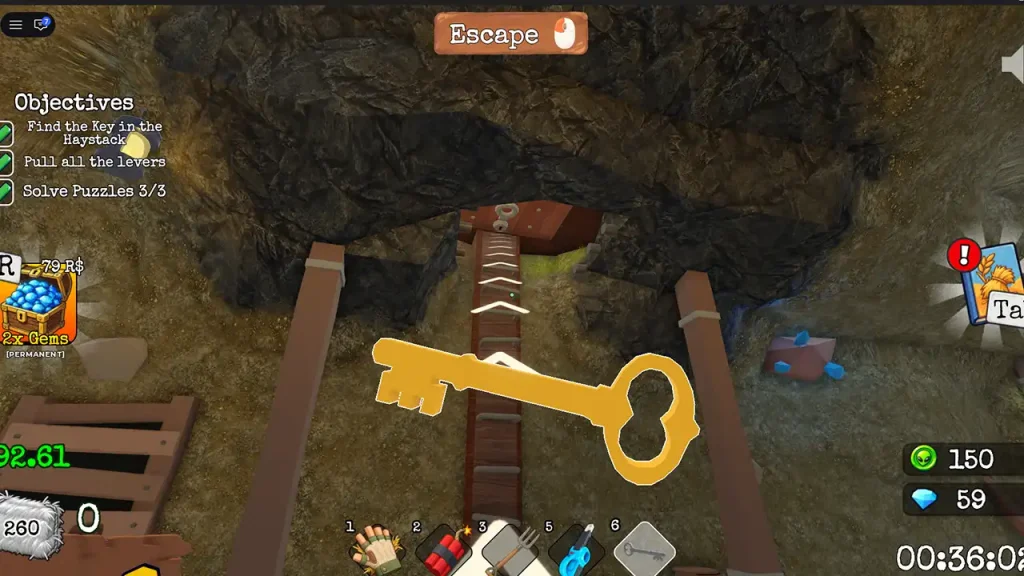
Image unavailable. Golden Basement Key equipped in front of the exit ladder.
Equip the Basement Key and climb the ladder after finishing the three objectives.
Outside, the alien you freed points toward the sky. A UFO appears above you and beams you up during the closing scene.